
How to Store Grains for Lasting Freshness
If you want your grains to last, you need to store them properly. That means keeping them cool, dry, and sealed up tight in an airtight container. This protects them from their biggest enemies: moisture, pests, and light. It sounds simple, but getting this right is what keeps your food fresh, stops you from throwing things out, and ultimately saves you a bit of money.
Why Proper Grain Storage Is Worth Your Time
Let's be real—finding little bugs crawling around in your bag of flour is a gut-wrenching moment for any home cook. But smart grain storage is about more than just dodging pests. It's about protecting the food you've bought, holding onto its nutritional value, and making sure you have quality ingredients on hand whenever you need them.
Just a few small changes to your pantry routine can make a massive difference. The right container, the right spot in your kitchen, and a little bit of prep work can turn grains that would spoil in weeks into staples that last for months or even longer.
Protecting Your Pantry Investment
Every time you toss out rancid quinoa or clumpy, spoiled flour, you're literally throwing money away. Good storage habits make those bulk bin purchases a smart move instead of a potential waste. This isn't just a kitchen table issue, either. On a global scale, the grain storage equipment market was valued at $1,293.4 million in 2025, a number that shows just how critical preservation is worldwide. You can dive deeper into the grain storage market research to see the full picture.
The goal is to create a stable, protected environment for your grains. If you can shield them from their four main enemies—air, moisture, heat, and light—you'll lock in their freshness and dramatically extend their shelf life.
Key Benefits of Smart Storage
A little bit of effort upfront gives you some serious long-term wins. Here’s what you really gain:
- Maximized Nutrient Retention: Whole grains have natural oils that go rancid when they’re exposed to oxygen and light. A good airtight, opaque container is the best defense for preserving these fragile nutrients.
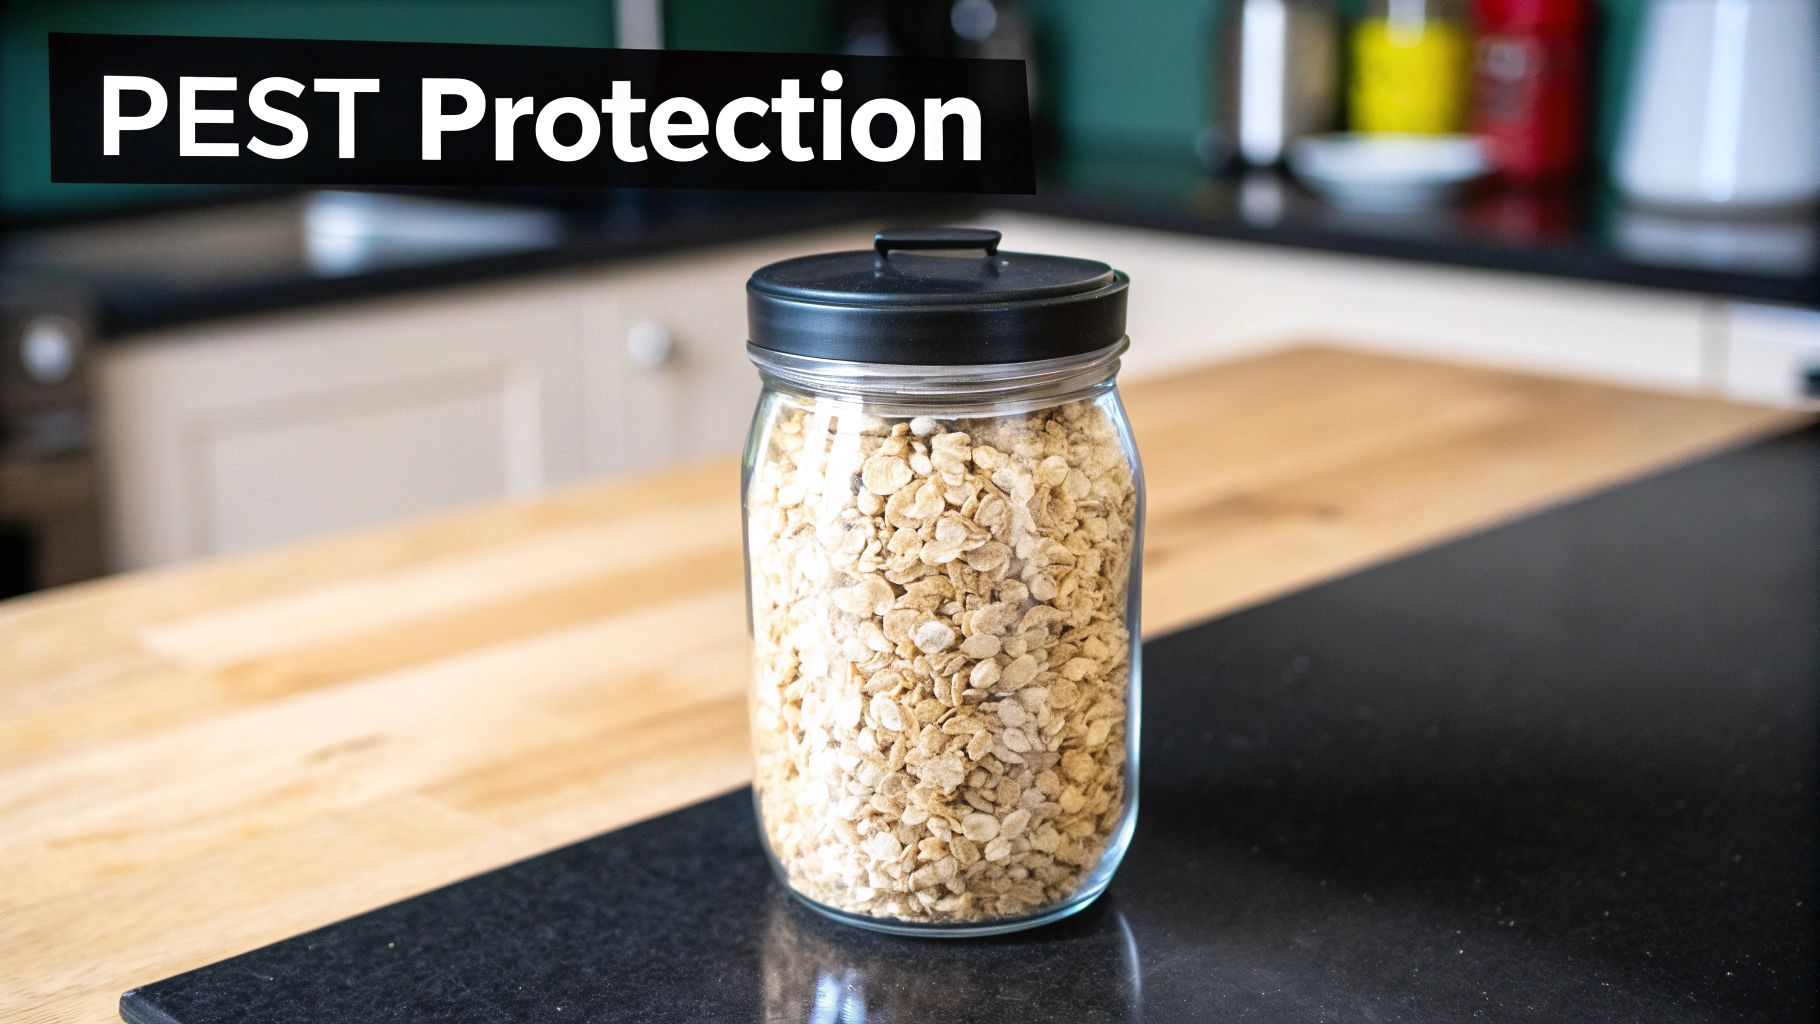
- Pest Prevention: A tightly sealed jar is like a fortress against pantry moths and weevils. Once they get in, they can contaminate everything, so keeping them out is priority number one.
- Reduced Food Waste: When you extend the life of your grains, you throw less food in the bin. It's a simple, effective step toward a more sustainable, zero-waste kitchen.
- Enhanced Flavor and Quality: There's no substitute for freshness. Properly stored grains just taste better, giving your homemade bread, morning oatmeal, or fluffy pilafs the best possible flavor and texture.
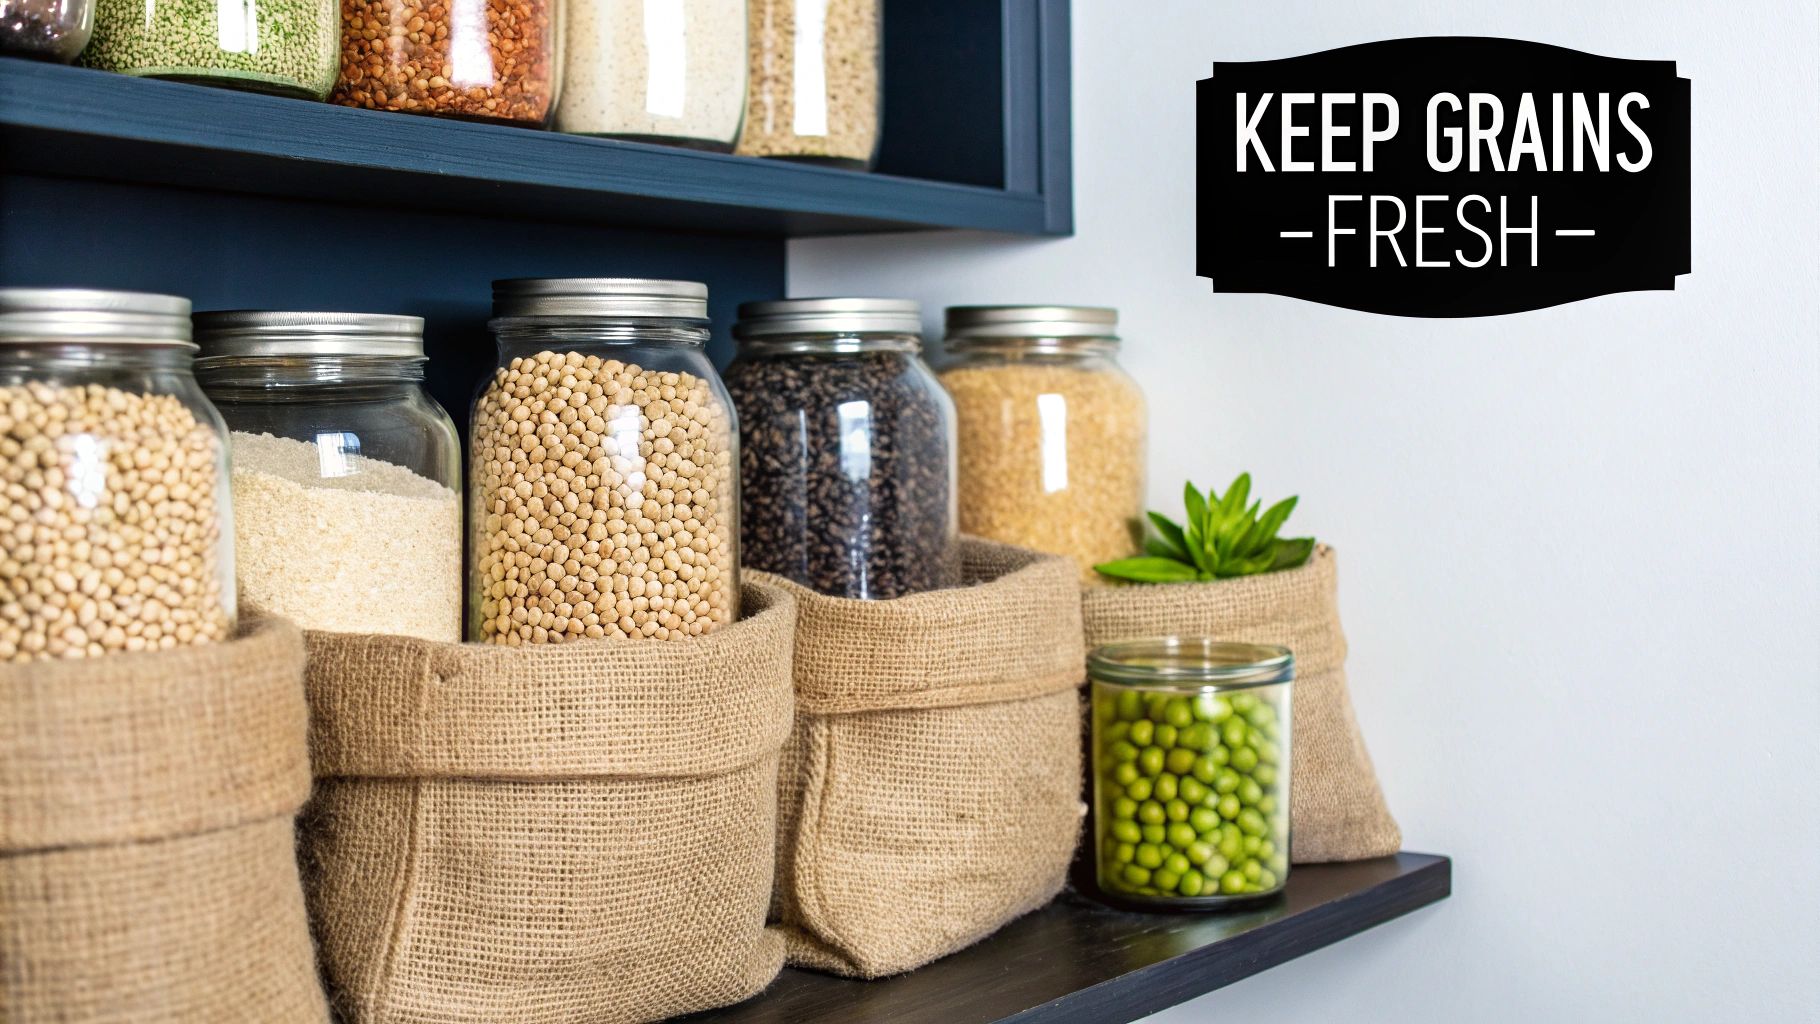
Choosing the Right Containers for Your Pantry
The container you choose is your first line of defense against moisture, pests, and air—the primary enemies of freshness. Think of it as the foundation of your entire grain storage system. Getting this right is the most critical step in keeping your pantry staples in peak condition, and plastic-free options are often the best bet for both your health and the longevity of your food.
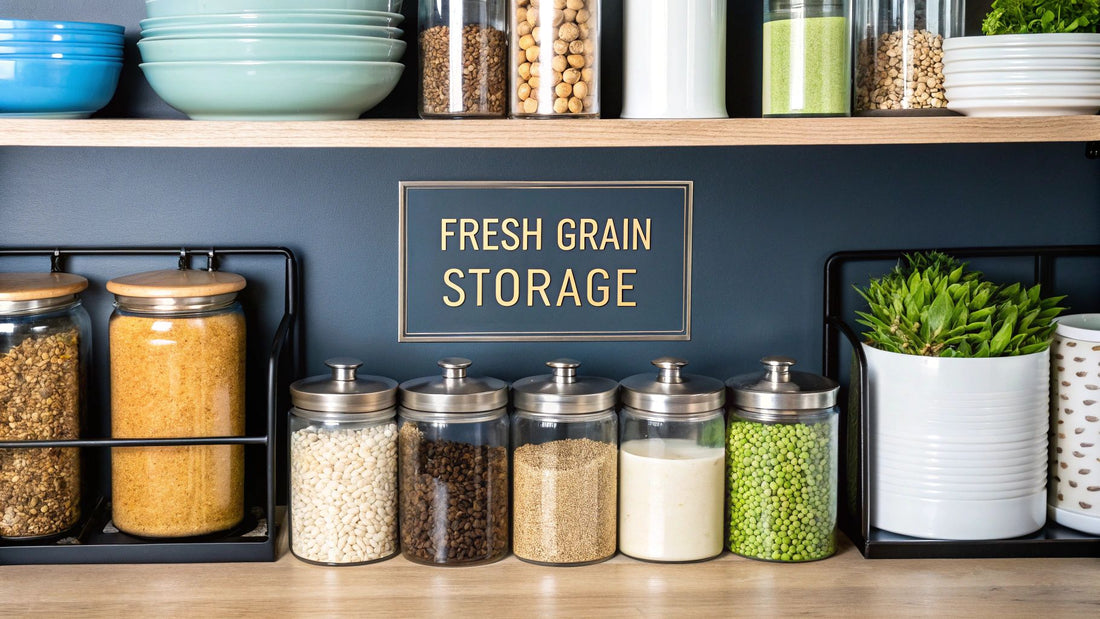
Glass jars are a classic for a reason. They're perfect for everyday grains like rice, quinoa, and oats because you can see exactly what you have at a glance. No more guessing games when you're making a shopping list!
For anything more sensitive to light, like whole wheat flour or bulk wheat berries, you'll want to go with something opaque. Light can degrade nutrients and make the natural oils in whole grains go rancid faster. In these cases, stainless steel bins or ceramic canisters are fantastic choices.
Selecting Your Ideal Container
No matter what material you pick, the single most important feature is an airtight seal. I can't stress this enough. A good silicone or rubber seal is what keeps oxygen and moisture out and, just as importantly, prevents pantry moths and other pests from getting in.
Another feature to look for, especially if you're tight on space, is a stackable design. Being able to use vertical space in a cupboard or on a shelf is a game-changer for keeping things organized. Before you commit, it's worth a little extra reading on understanding different packaging types to really nail down the best choice for your specific needs.
A container is only as good as its seal. A lid that doesn't fit snugly or has a flimsy gasket is pretty much useless. It’s always a good idea to test the seal in the store before you buy.
To help you weigh your options, here's a quick comparison of some of the most popular plastic-free choices.
Grain Container Comparison Guide
| Container Type | Best For | Pros | Cons |
|---|---|---|---|
| Glass Jars (with airtight lids) | Everyday grains like rice, oats, quinoa, and pasta. | See-through for easy inventory; non-porous; easy to clean. | Can be heavy and breakable; clear glass offers no light protection. |
| Stainless Steel Canisters | Bulk or light-sensitive items like flour, cornmeal, and wheat berries. | Durable and lightweight; blocks light completely; stackable. | Opaque, so you can't see contents; can sometimes be pricey. |
| Ceramic Crocks (with sealed lids) | Flour, sugar, and other pantry staples where style is a consideration. | Excellent light protection; often decorative; keeps contents cool. | Heavy; can chip or break; the seal quality can vary widely. |
| Cotton or Muslin Bags | Short-term storage or for buying grains from bulk bins. | Breathable; lightweight; reusable and eco-friendly. | Not airtight or pest-proof; only suitable for very short-term use. |
Ultimately, the best container is the one that fits your space, your budget, and the specific grains you're storing.
The image below breaks down the selection process into a few simple, memorable steps.
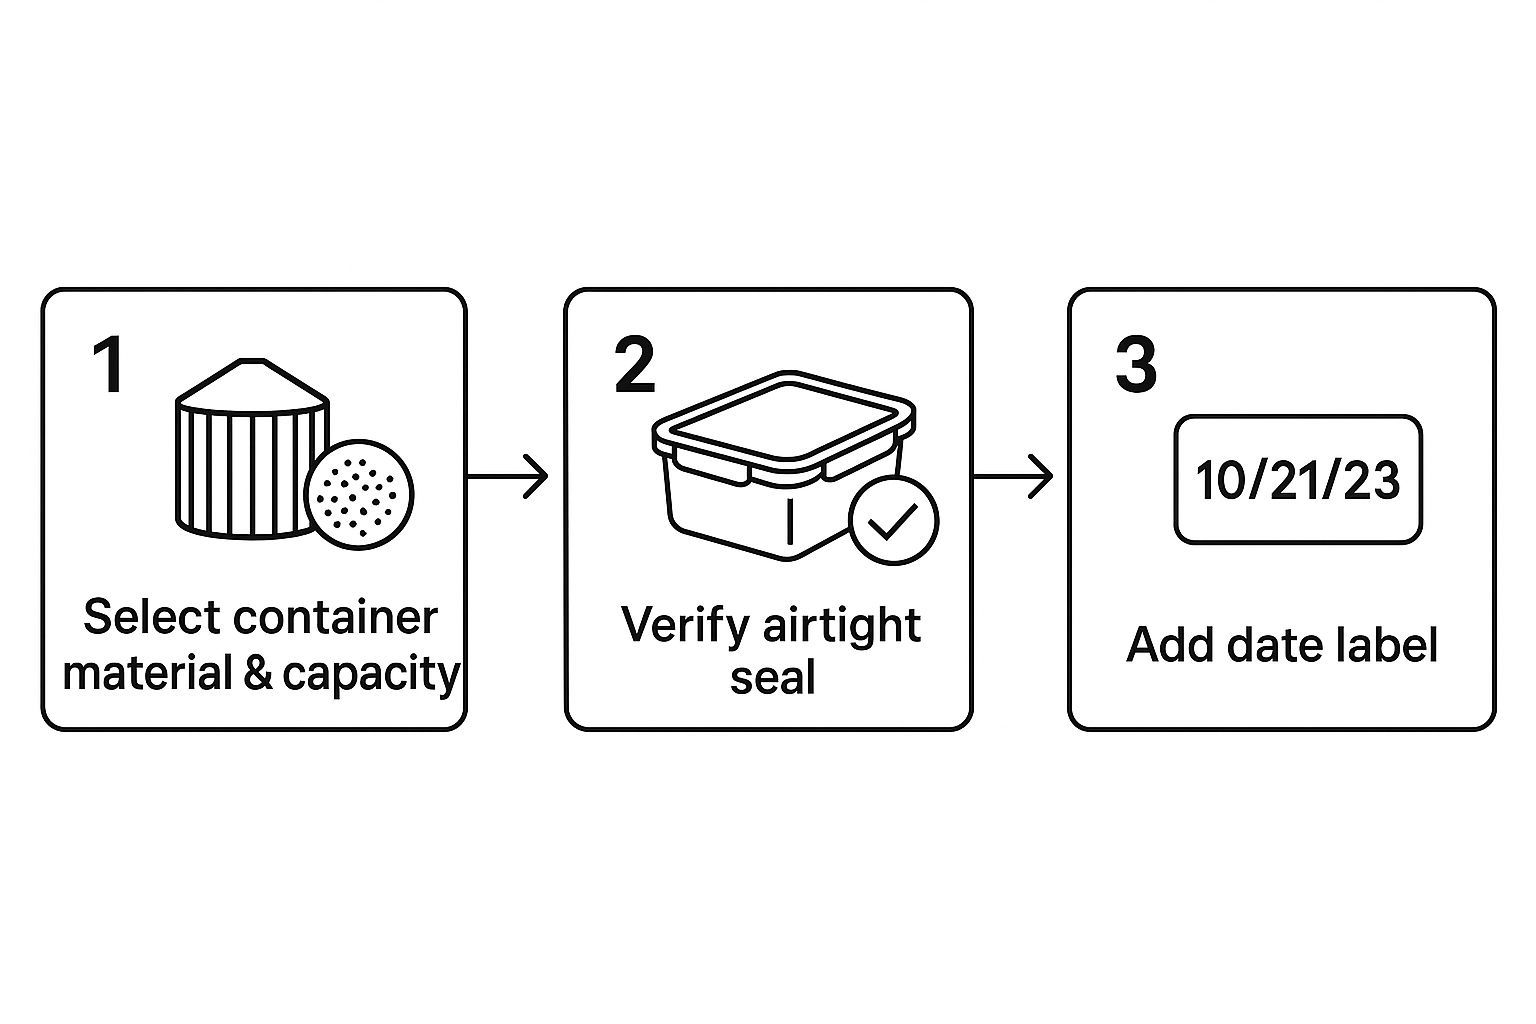
Remember, it’s not just about picking a nice-looking container. As the guide shows, verifying that seal and taking a moment to label your grains with the date are just as crucial for a fresh and well-managed pantry.
How to Prepare Grains for Long Term Storage
What happens before your grains go into a container is just as important as the container itself. Trust me, a few simple prep steps can be the difference between a pristine pantry and a full-blown pest infestation. The goal here is simple: make sure your grains are clean, completely dry, and free of any unwelcome hitchhikers from the get-go.
I learned this trick years ago, and it's been a lifesaver: the freezer method. It’s incredibly simple but works wonders. The moment you get new grains home, especially from bulk bins, pop them in a sealed bag and stick them in the freezer for at least 72 hours.
This deep freeze kills off any hidden insect eggs or larvae that might have caught a ride from the store. Honestly, it's a non-negotiable step if you want long-term peace of mind.
Once their time in the cold is up, you have to let the grains return to room temperature completely before jarring them. If you don't, you'll get condensation inside your storage containers, and even a tiny bit of moisture can kickstart mold and spoilage.
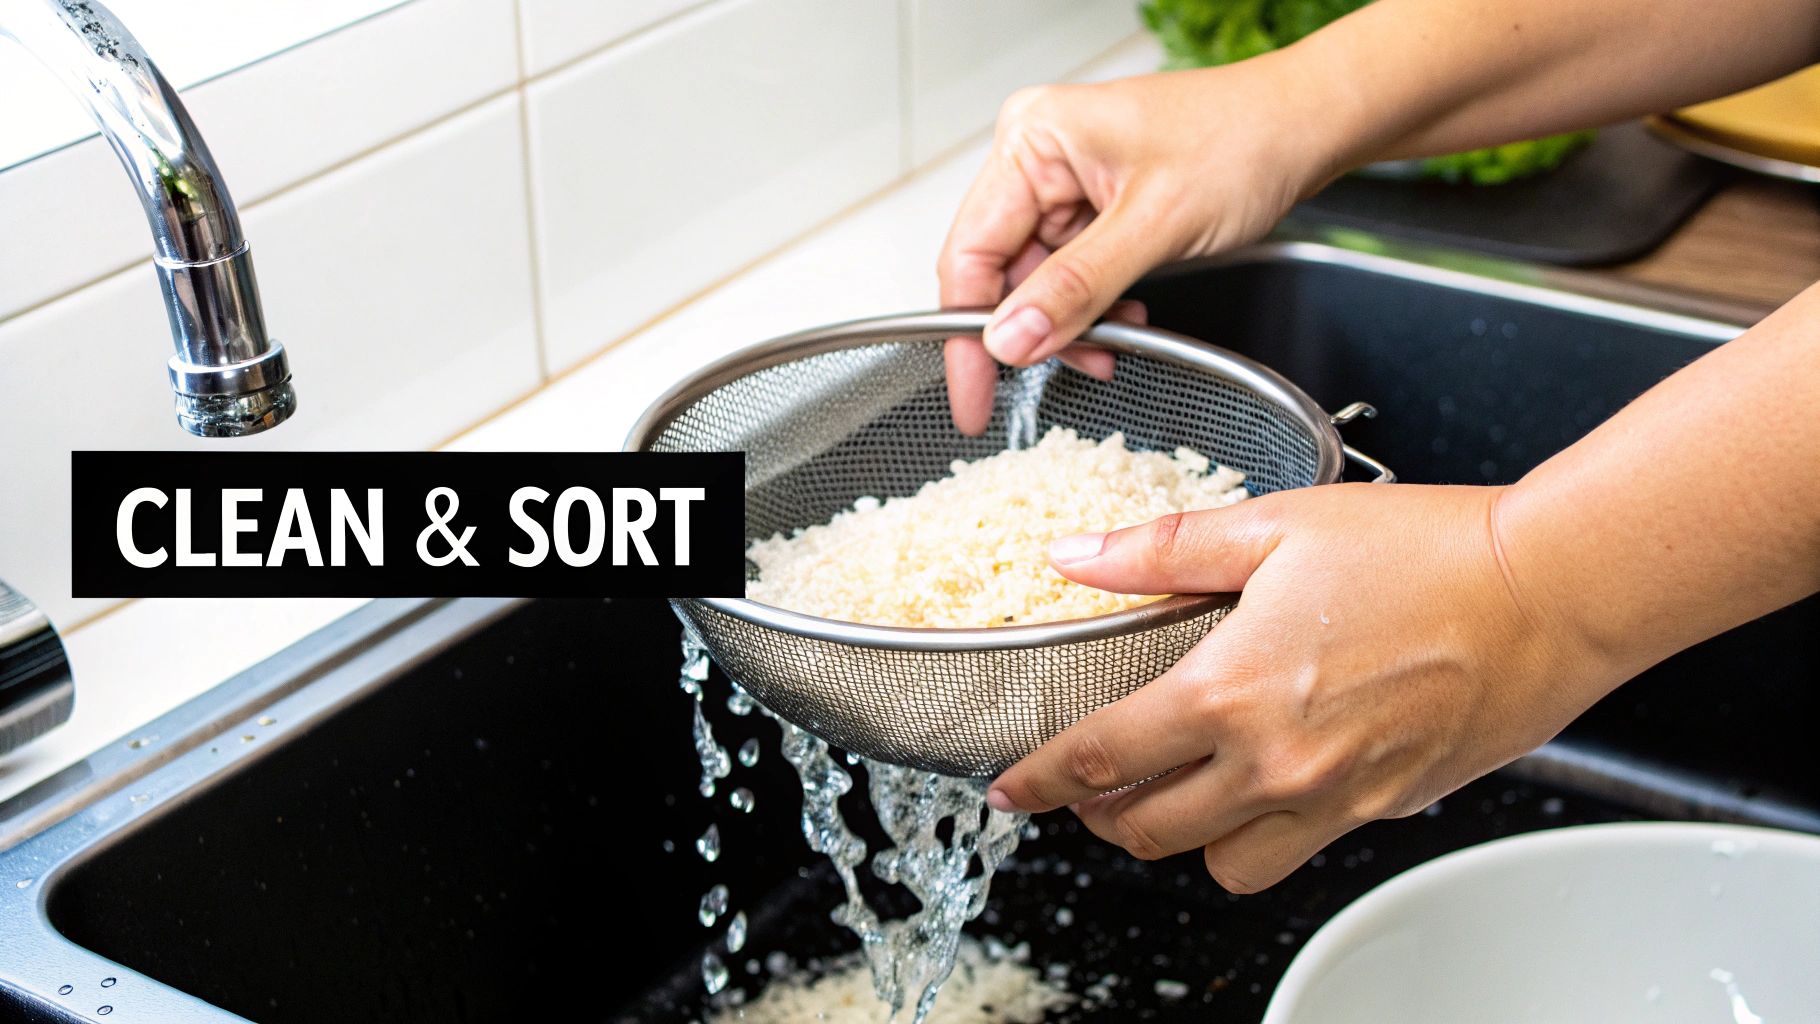
Start with a Clean Slate
Freezing is your secret weapon, but a quick visual check can also save you a lot of future headaches. Before pouring grains into their new home, I like to spread them out on a baking sheet. This makes it easy to spot any broken kernels, debris, or obvious signs of pests.
This is also the perfect time to make sure your grains are bone-dry. If they feel even slightly damp, you can spread them on that baking sheet and dry them in the oven on its lowest setting for a few minutes.
Pro Tip: Try to buy your grains from shops with high turnover. The faster their stock moves, the less likely you are to bring home old products that have been sitting around, potentially exposed to pests.
Before you seal up those jars, run through this quick mental checklist:
- Inspect Thoroughly: Give your grains a good look. Any webbing, strange clumps, or off-smells are major red flags.
- Ensure Dryness: Remember, moisture is the enemy of a long shelf life. Any hint of dampness is a recipe for mold.
- Freeze for Prevention: That 72-hour freeze is your best line of defense against invisible threats like weevil eggs.
Taking these few extra minutes is a core part of mastering how to store grains. It ensures you're only sealing in fresh, clean food, setting you up for successful, long-term preservation.
Setting Up Your Grains for Success
Once you've got your containers sorted, where you put them is just as important. The best storage in the world won't help if the environment is working against you. Your main goal is to protect your grains from their three biggest enemies: heat, light, and moisture.
Take a look at your kitchen. Where do you keep your flour or rice right now? If it’s in that handy cabinet right next to the oven, it's probably getting blasted with heat. Those temperature swings can create condensation inside your containers, which is a fast track to mold.
Instead, find a spot that’s consistently cool, dark, and dry. Think of a dedicated pantry, a deep kitchen cabinet far from any heat-producing appliances, or even a closet in a part of the house that stays cooler.
Keeping Your Grains Fresh and Safe
Whole grains are a bit more delicate than their refined counterparts. They still have their natural oils, which is great for nutrition, but those oils are also what can make them go bad.
- Light is the enemy of freshness. Direct sunlight or even constant, bright kitchen light will break down those healthy oils. This is what causes whole wheat flour or brown rice to get that bitter, "off" taste of rancidity.
- Heat speeds up spoilage. A warm spot in your kitchen basically puts the spoilage process on fast-forward. It also creates a five-star resort for pantry pests.
- Moisture is a deal-breaker. This is the quickest way to ruin your entire stock. Even a little humidity in the air can lead to clumping, and from there, it's a short jump to mold.
A good preventative measure is to make an effective homemade insect killer part of your regular pantry cleaning routine. It helps keep those common invaders from ever getting a foothold.
Put "First-In, First-Out" to Work
This is a simple system that makes a huge difference. All "first-in, first-out" (FIFO) means is that you use up your oldest grains before you open the new stuff. It’s a classic kitchen pro-tip for a reason.
Grab a roll of painter's tape or a dry-erase marker and label your containers with the date you bought the grains. When you bring home a new bag of rice, just tuck that new container behind the one you're already working on.
This one tiny habit is your best defense against finding a long-forgotten, fossilized jar of quinoa at the back of the shelf. It's truly the foundation of smart grain storage and cutting down on food waste.
Advanced Techniques for Maximum Shelf Life
If you're serious about long-term food storage—we're talking years, not months—you need to step up your game beyond just a good container. This is especially true if you’re focused on emergency preparedness or buy your grains in serious bulk. One of the most powerful tools in your arsenal for this is the oxygen absorber.
These little iron-based packets are a game-changer. They work by chemically scrubbing almost all the oxygen out of a sealed container. When you remove oxygen, you halt oxidation, which is what causes the natural oils in whole grains to go rancid. This means your wheat berries, spelt, and oat groats will maintain their flavor and nutritional punch for an incredibly long time.
Using Oxygen Absorbers Correctly
Putting them to work is simple: just toss the right number of packets into your container right before you seal it for good. The trick is to be quick about it. Oxygen absorbers activate the second they hit the air, so you don't want to leave the bag open while you wander off to do something else.
Here's what I've learned from experience:
- Best Grains for This Method: Stick to whole grains with low moisture and low oil content. Hard red wheat, corn, and plain white rice are perfect candidates.
- Grains to Avoid: Don't use them with anything that has a higher oil or moisture content. Things like brown rice, pearl barley, or nuts are a bad match because the oxygen-free environment can create a risk for botulism.
Natural Pest Deterrents
Looking for a simpler, less technical way to keep bugs out of your pantry? The answer might already be in your spice cabinet. The humble bay leaf is a fantastic, old-school deterrent.
Just tuck one or two dried bay leaves into your containers of flour, rice, or cornmeal. It’s a trick that’s been passed down for generations because it works. The sharp, pungent aroma is a natural repellent for common pantry pests like weevils and moths, but it won't affect the taste of your food.
These small-scale efforts contribute to a much larger picture of food security. Better storage on every level, from global operations to home pantries, helps ensure a stable food supply.
Thinking about the big picture, these individual efforts really do add up. Better storage practices worldwide are a huge factor in global food security. In fact, global cereal stocks are projected to hit 889.1 million tonnes by the 2025/26 season, partly thanks to improved management. You can dive into the numbers yourself with these global food supply forecasts from the FAO.
Answering Your Top Grain Storage Questions
Even with the best system in place, you're bound to run into questions once you start storing grains in your own kitchen. It's one thing to read the instructions, but it's another to deal with a real-life pantry situation. Let's tackle some of the most common things people ask so you can store your grains with total confidence.
A big one I hear all the time: Should I wash grains like rice or quinoa before I store them? The answer is a hard no. Washing adds moisture, and moisture is the absolute enemy of long-term storage. It's a one-way ticket to mold and spoilage. Keep your grains bone-dry in their containers and only rinse them right before you're ready to cook.
Then there's the dreaded pest problem—those tiny weevils or pantry moths. If you spot them in one jar, is the whole pantry a lost cause? Not if you move quickly. Immediately get the infested grains out of your house (don't just throw them in the kitchen trash). Then, it's time for a full inspection of every other grain container you own.
How to Spot and Deal with Spoilage
Knowing what to look for is half the battle. Spoiled grains might not look completely different at first glance, but your nose and eyes are your best tools for catching a problem early.
- Trust Your Nose: This is your number one tell. Grains should smell neutral, maybe a little earthy. If you pop open a jar and get hit with a musty, sour, or oily odor, it's time to let it go. That "off" smell is a clear sign the natural oils in the grain have gone rancid.
- Give It a Good Look: Check for clumps, which means moisture has snuck in. Also, keep an eye out for fine, web-like threads—a dead giveaway for pantry moth larvae.
- Check the Texture: Your grains should always feel dry and pour easily. If they feel even slightly damp or sticky, they're no longer good to eat.
My personal motto is simple: when in doubt, throw it out. It's never worth risking getting sick to save a few dollars' worth of grains.
A Few Special Cases: Not All Grains Are Created Equal
It's important to remember that different grains have different needs. Whole grains, for example, contain the bran and germ, which are full of natural oils. While those oils are nutritious, they also mean whole grains have a shorter shelf life than refined ones because the oils can go bad.
Flours are a great example of this. Whole wheat flour keeps best in the freezer or refrigerator to protect its fragile oils. On the other hand, all-purpose white flour is much more shelf-stable and does just fine in a cool, dark pantry.
The same goes for cornmeal. Have you ever noticed that many store-bought mixes use degerminated cornmeal? That's because removing the nutrient-rich germ makes the product last much longer. If you buy whole-grain cornmeal from a local mill, treat it just like whole wheat flour and keep it chilled. Learning the quirks of each grain is the key to mastering long-term storage.
At Naked Pantry, we believe a healthy kitchen starts with high-quality, plastic-free staples. We deliver organic, zero-waste ingredients straight to your door, making it easy to build a sustainable pantry you can feel good about. Start your journey today at https://www.nakedpantry.co.